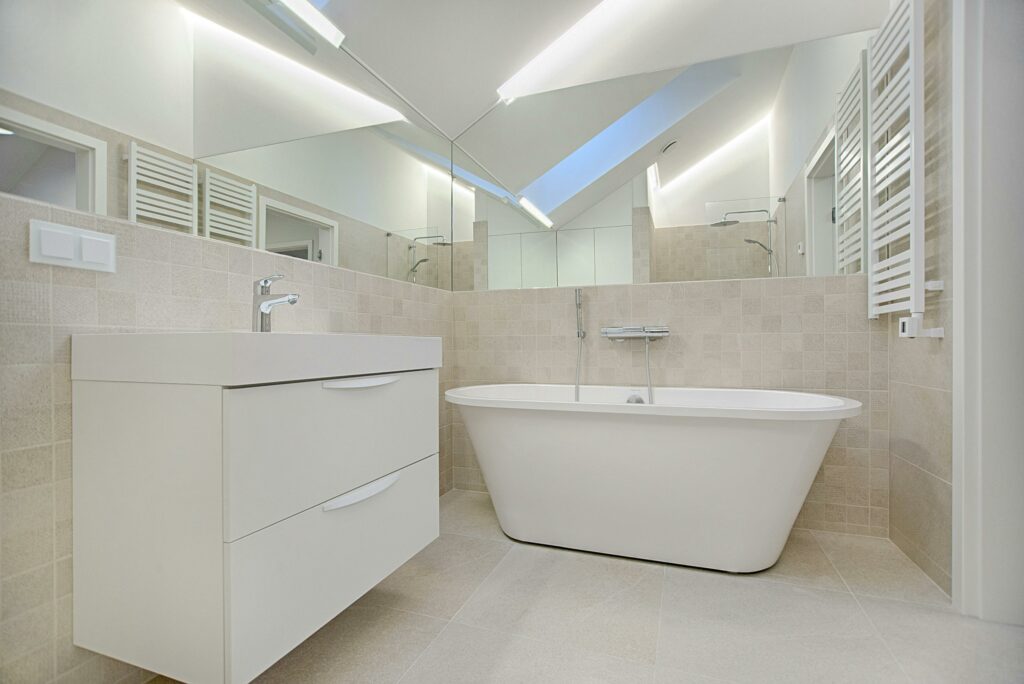
Bathroom Floor Retiling: Your Not-So-Scary Guide to a Spa-Worthy Upgrade
Let’s be honest—your bathroom floor has seen better days. Between the mystery stains, cracked tiles, and that one spot where the grout gave up years ago, it’s time for a glow-up. But before you panic at the thought of wielding a tile cutter like some sort of DIY warrior, take a deep breath. Retiling your bathroom floor is totally doable, even if your only previous tiling experience involves Scrabble. Here’s how to tackle it without turning your bathroom into a Pinterest fail.

First, channel your inner detective and investigate what’s lurking under your current tiles.
Are they stuck to cement backer board, plywood, or (gulp) layers of ancient linoleum? This will determine how much demo work you’re in for. Pro tip: Wear gloves and safety glasses during demolition—nothing ruins a renovation faster than a rogue tile shard to the eyeball. If you discover your subfloor has more dips than a rollercoaster, now’s the time to level it. Think of this step as putting primer on a wall—skip it, and your beautiful new tiles will mock you with uneven lippage forever.
Now for the fun part: choosing your tiles.
Porcelain and ceramic are the Beyoncé and Jay-Z of bathroom flooring—classic, durable, and water-resistant. If you’re clumsy in the mornings, opt for textured or matte finishes over glossy (trust me, your post-shower self will thank you). Large-format tiles mean fewer grout lines to scrub later, while mosaic sheets add personality but require the patience of a saint to install. And if you’re dreaming of toasty toes on winter mornings, consider radiant heating mats—they’re easier to install than you think and cheaper than therapy for your cold-floor hatred.
Dry-fitting your tiles before the glue comes out is like rehearsing a wedding procession
It prevents awkward gaps and last-minute scrambling. Start from the center and work outward, using spacers to keep your lines straighter than a Type-A accountant’s spreadsheet. When it’s time to commit with thin-set mortar, channel your inner pastry chef: spread it evenly with the notched trowel, and don’t go overboard. Too much mortar oozing between tiles leads to grout headaches later.
Speaking of grout, this is where your tiles go from “meh” to magazine-worthy.
Sanded grout works for wider joints (over 1/8″), while unsanded is better for tight spaces. Additive-enhanced grout resists mildew, crucial for bathrooms that double as steam rooms. Apply it with a float at a 45-degree angle, working in small sections, and have a damp sponge ready for cleanup before it hardens into a permanent reminder of your imperfections (both the tiles’ and yours).
The final touch?
Sealant—the unsung hero that keeps grout from absorbing every splash of toothpaste and hair dye. Wait 72 hours after grouting, then apply it like you’re painting your nails: thin, even coats, with no puddles.
Yes, you’ll probably end up with mortar under your fingernails and a newfound hatred for spacers that mysteriously disappear like socks in a dryer. But when you’re standing on your gorgeous new floor—one that doesn’t secretly gross you out—every aching muscle will be worth it. Just don’t be surprised if you catch yourself staring at it instead of your reflection. Now, who’s ready to pick out the perfect bath mat to show it off?


